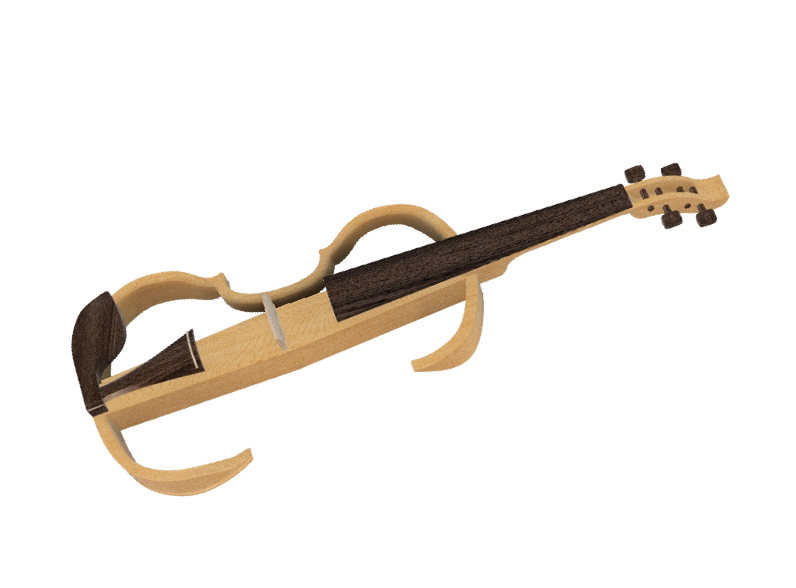
Electrical violin project
Making an electrical violin DIY
The Electric Violin Project
This page is designed to tell you in detail about the construction of our electric violin, from the beginning of its conception to its complete realization. Whether you have a similar project or curiosity leads you, we hope you will find what you are looking for. Don't hesitate to write to us here if you have any questions.
Rémi and Esther
From acoustic to electric violin
Before starting, we propose this section in order to clarify some technical details concerning the violins, acoustic and electric. It will also help you master the vocabulary we will use next.
If you are already familiar with this instrument, you can go directly to the next section.
The parts of a violin
Let's start with a quick overview of the violin parts.
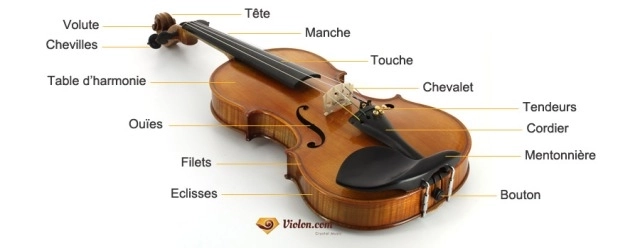
- The handle and the fingerboard allow to pluck the string at the right length to choose the pitch of the note (fundamental frequency of the sound).
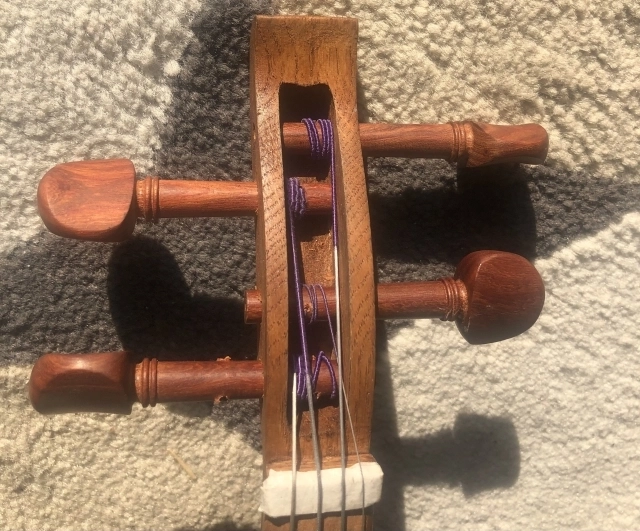
- The cord, the stretchers and the pins (inserted in the head) are used to put the four strings under tension, so that the open string sounds at the right pitch.
- The knob allows the tensioner to be installed (distributing the mechanical actions in the wood of the violin).
- The valet raises the strings and delimits the action zone of the bow. The bridge transmits the vibrations of the strings to the resonance box.
- The chin strap keeps the violin in place while playing, by clamping it between the chin and the left shoulder. It is often accompanied by a cushion that is placed under the base of the violin and that rests on the shoulder.
These first elements should exist on an electric violin, since they concern the tensioning of the strings at the right height, and the holding of the violin.
- The volute of the head is mainly aesthetic, it is almost always present on acoustic violins (sometimes stylized), but is not necessary on electric violins.
- The soundboard, the slides, the holes** (and the core hidden in the resonance box) allow to amplify the sound of the strings of the violin, to make it resonate. These elements are very important on an acoustic violin, since they make the sound consistent. But on an electric violin, this work is done electronically, by the amplifier. Thus, these three components of the acoustic violin are not relevant on an electric violin.
Sound propagation in a violin
In an acoustic violin, the sound is generated by the vibration of the strings, in the form of mechanical sound waves. These waves are transmitted via the bridge to the soundboard. These waves are amplified as they pass through the resonance box, and then propagate through the air until they reach the eardrums of the listeners.
In an electric violin, the sound is always generated by the vibration of the strings. The waves are well transmitted to the bridge. But on this bridge will be small sensors, sensitive to the vibrations due to the passage of mechanical waves. They will then pick up all the frequencies that make up the sound and transmit this information in the form of an electrical signal. This electrical signal will then be digitally processed (this is where we can add possible effects on the sound, by artificially modifying the sound signal), then restored amplified by the amplifier. Thus, the sound created by the vibration of the strings is transmitted to the bridge, then acquired by the sensors, before being electrically processed and amplified by the amplifier, to be propagated in the air (or in headphones).
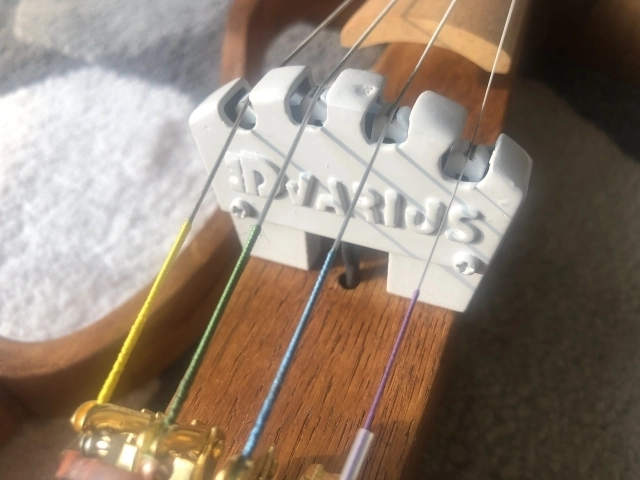
We can therefore note the importance of the quality of the bridge on the electric violin. On it depends almost entirely the final quality of the sound. We recommend pickups with 4 piezoelectric sensors (one under each string) rather than one for the whole bridge. We will come back to this point.
The design
Rémi had just built himself a 3-axis CNC milling machine and Esther had always played the (acoustic) violin. As we were thinking of a DIY project to do, we thought of the electric violin. We then had to start imagining what we wanted it to look like, while thinking of all the functional constraints related to its later use.
The first ideas ...
Concerning the choice of material, we had at our disposal the means to work with wood, steel, aluminum, and plastic (CNC milling machine and 3D printer).
- Steel and aluminum were eliminated, as the electric violin should weigh similar to a classical violin.
- Plastic could have been suitable in terms of weight, but the constraints related to the tension of the strings did not recommend its use for all the parts.
Wood will therefore necessarily be used, at least for the neck and the central part of the body. In order to standardize and to make it look good, we finally chose to make the whole violin in wood. Concerning the gasoline, we chose untreated oak, because it is a wood that is easy to find, not too expensive while being dense and resistant enough for our use.
Once this choice was made, we had to agree on the design. The discussion started with small hand-drawn boards, of which you can have an overview below.
The CAD model
With all these ideas, we started to draw the CAD, on the Fusion360 software, which has the advantage of being free for personal and collaborative projects.
We made the first sketches, the software handles very well for the drawing of shapes, there is in particular the possibility of tracing images under the sketch, to recover some lines.

Then, we make an extrusion of the drawing on the desired thickness, to give volume to the body.
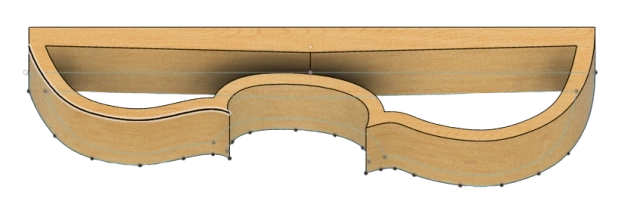
We then symmetrized the design so that we have a whole violin.

Once the general shape was given, we drew the sketches of the volumes we wanted to remove on the sides of the body. This part has undergone a lot of changes, we had to keep absolutely certain areas intact (regarding the constraints of use explained above), but it was the moment to give a little originality to our violin.

Once again, these sketches are extruded or poached.

On the other side, we opted for a more hollow profile.
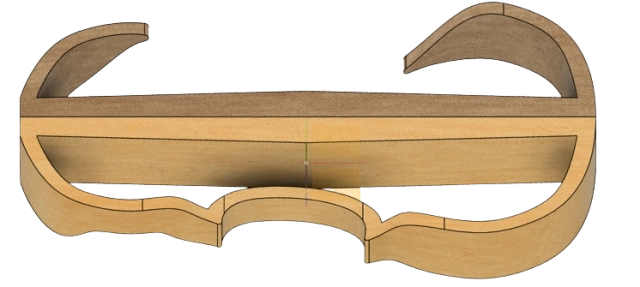
This is how the whole model was made. We chose to incorporate also the elements that we would not make ourselves in order to visualize the whole object. A lot of changes were made after the fact, as Fusion's timeline management tool allows us to go back to previous steps without any problem.
Finally, we stopped on the following final CAD.

We have given you a brief overview of how to use Fusion360, but to make your first models, you will need more details, CAD software are very advanced tools and are not easy to learn. Check out the Youtube channel of Crea_Din 3D for example.
The final CAD is available here.
The realization
From the rough to the pieces
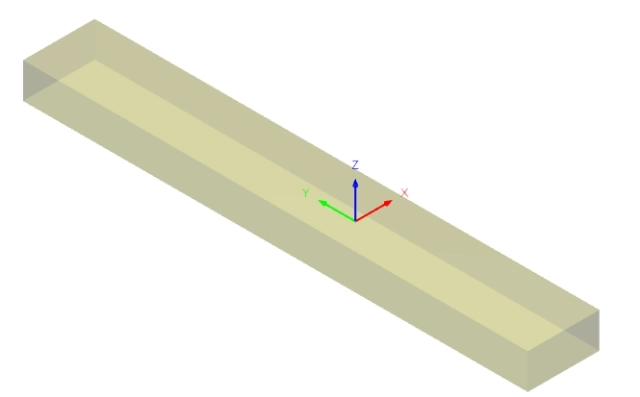
For the fabrication, we bought a raw oak beam 1000x150x70 at Castorama. We screwed it on the martyr plate of the CNC.
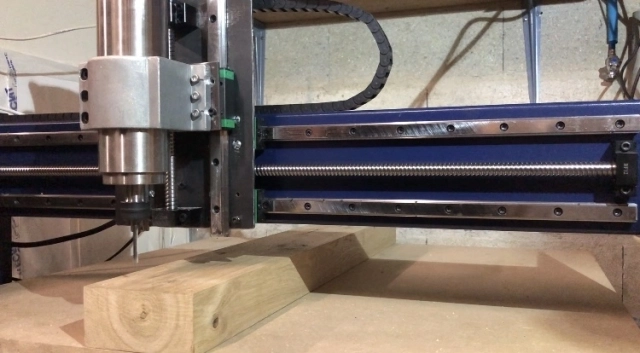
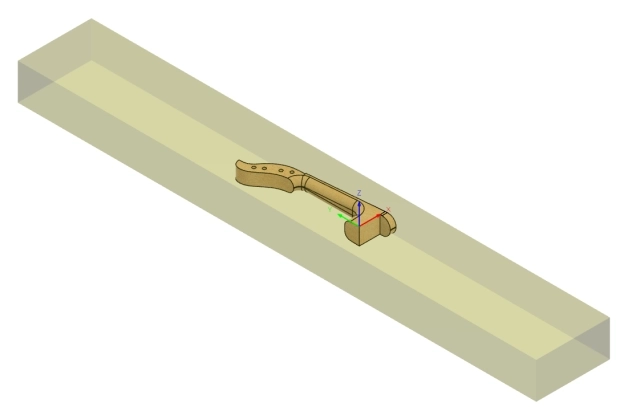
For the generation of the G-code, we used the CAM tools of Fusion360.
- Choice of the machine (3-axis milling machine)
- Definition of the stock and the tool (we used 4, 6 or 10mm radius milling cutters according to the needs)
- Definition of task type (2D profile, surfacing, 3D contour, ...)
- Selection of the profile to be made and the cutting conditions (rotation frequency, feed, depth of cut)
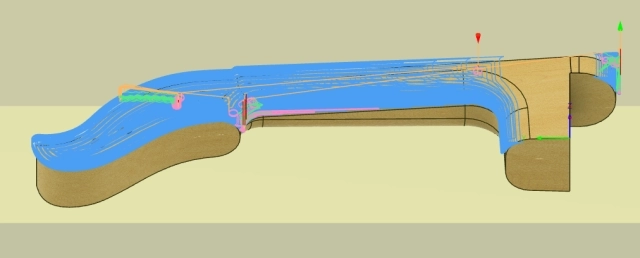
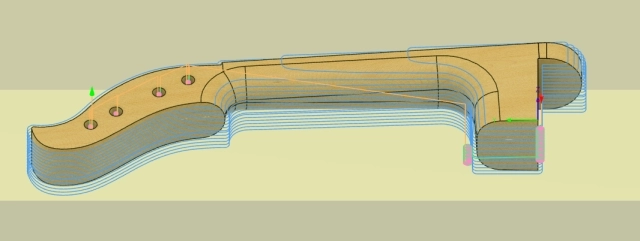
- Verification on the generated simulation that the tasks are well defined
- Generation of the G-code
Once the G-code has been generated, it can be uploaded and executed on the CNC interface, after having positioned the 0 at the origin of the reference frame defined during CAM.
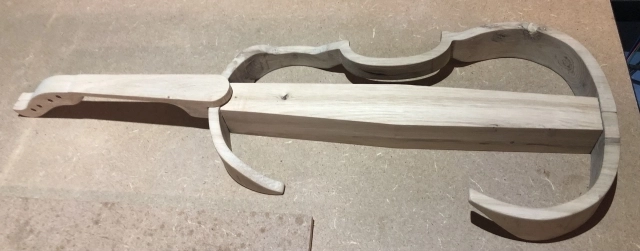
After a few tries (and a few failures), we decided on the following approach: make half of the parts on one side of the beam after surfacing, then turn the blank over and make the second half, leaving 2mm between the two machinings. The parts were then removed by hand with an electric saw.
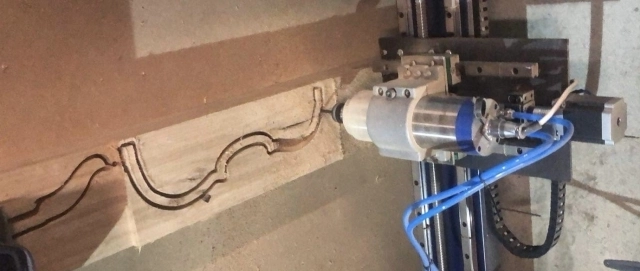
SEND THE OTHER PICTURES OF THE DEVICE
The machining took us about 3 days, between small milling accidents (a broken tool and a part change to be done on the CNC) and the necessary surfacing.
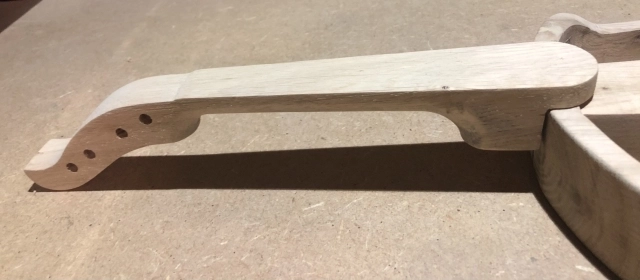
Finally, after a few hours of sanding, all the parts were ready to be assembled.
Assembly and wood finishing
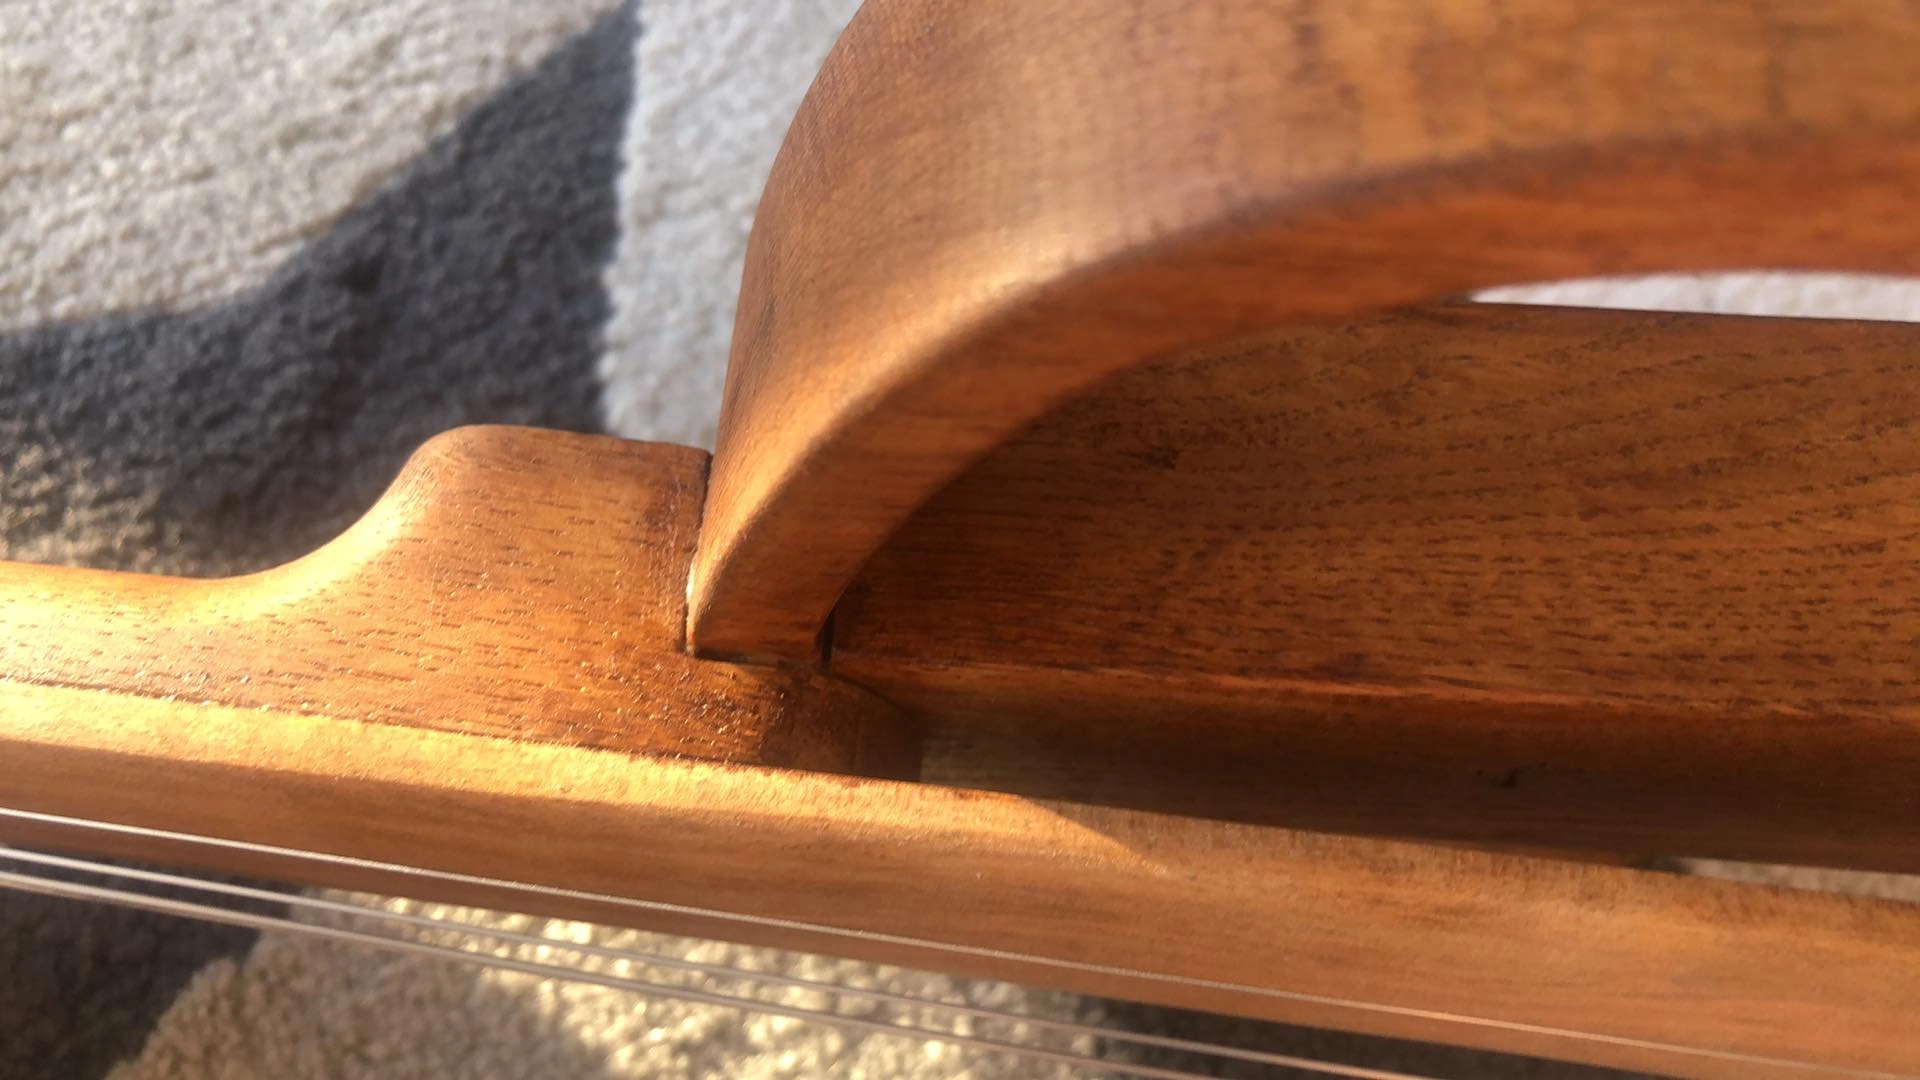
After a final round of sanding, we tackled the gluing. For this, we used wood glue very simple to set gradually. Once dry, we also glued the fingerboard on the violin, and made the drills necessary for the bridge wires. We also had to drill the headstock, to free the space needed for the strings to be wound. To do this, we restarted the CNC and generated additional G-code, defining the blank by our previous CAD.
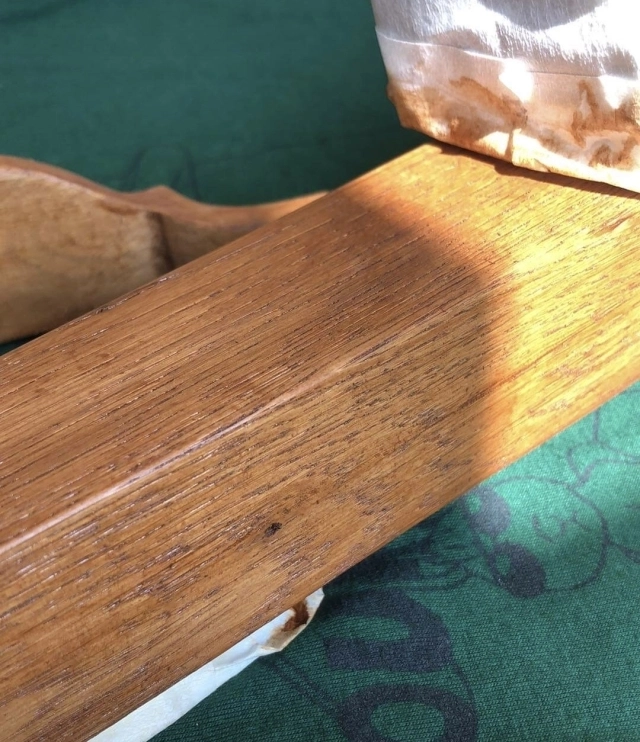
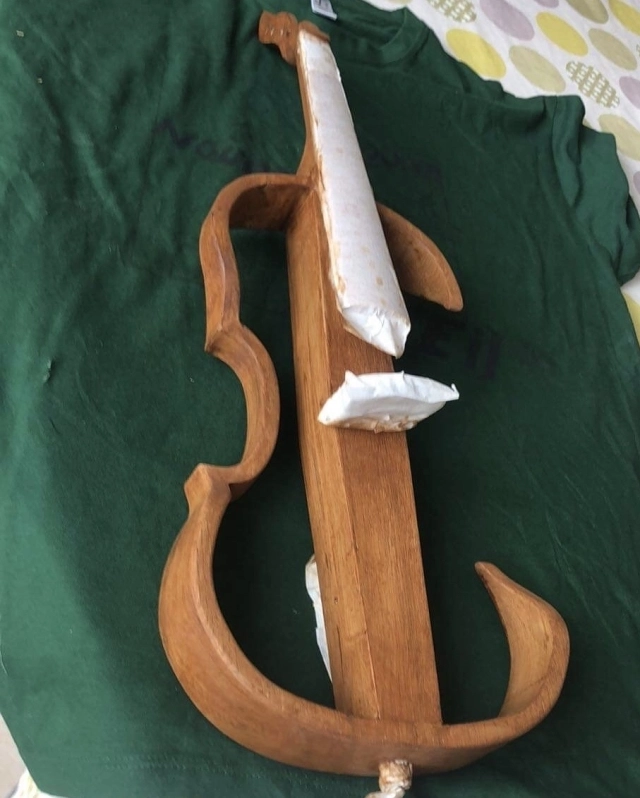
At this point, we were no longer going to touch up the wood, so we could oil it. We chose this option rather than a varnish to keep the raw wood look. The result is what we expected, we used a protection oil for exterior wood. To protect properly, three coats are necessary.
NOTE: After the first few uses of the violin, we realized that the neck only oiled was too sticky, which hindered the dismantling. We will proceed to a very soft sanding and eventually use turpentine.
Assembly of the other elements
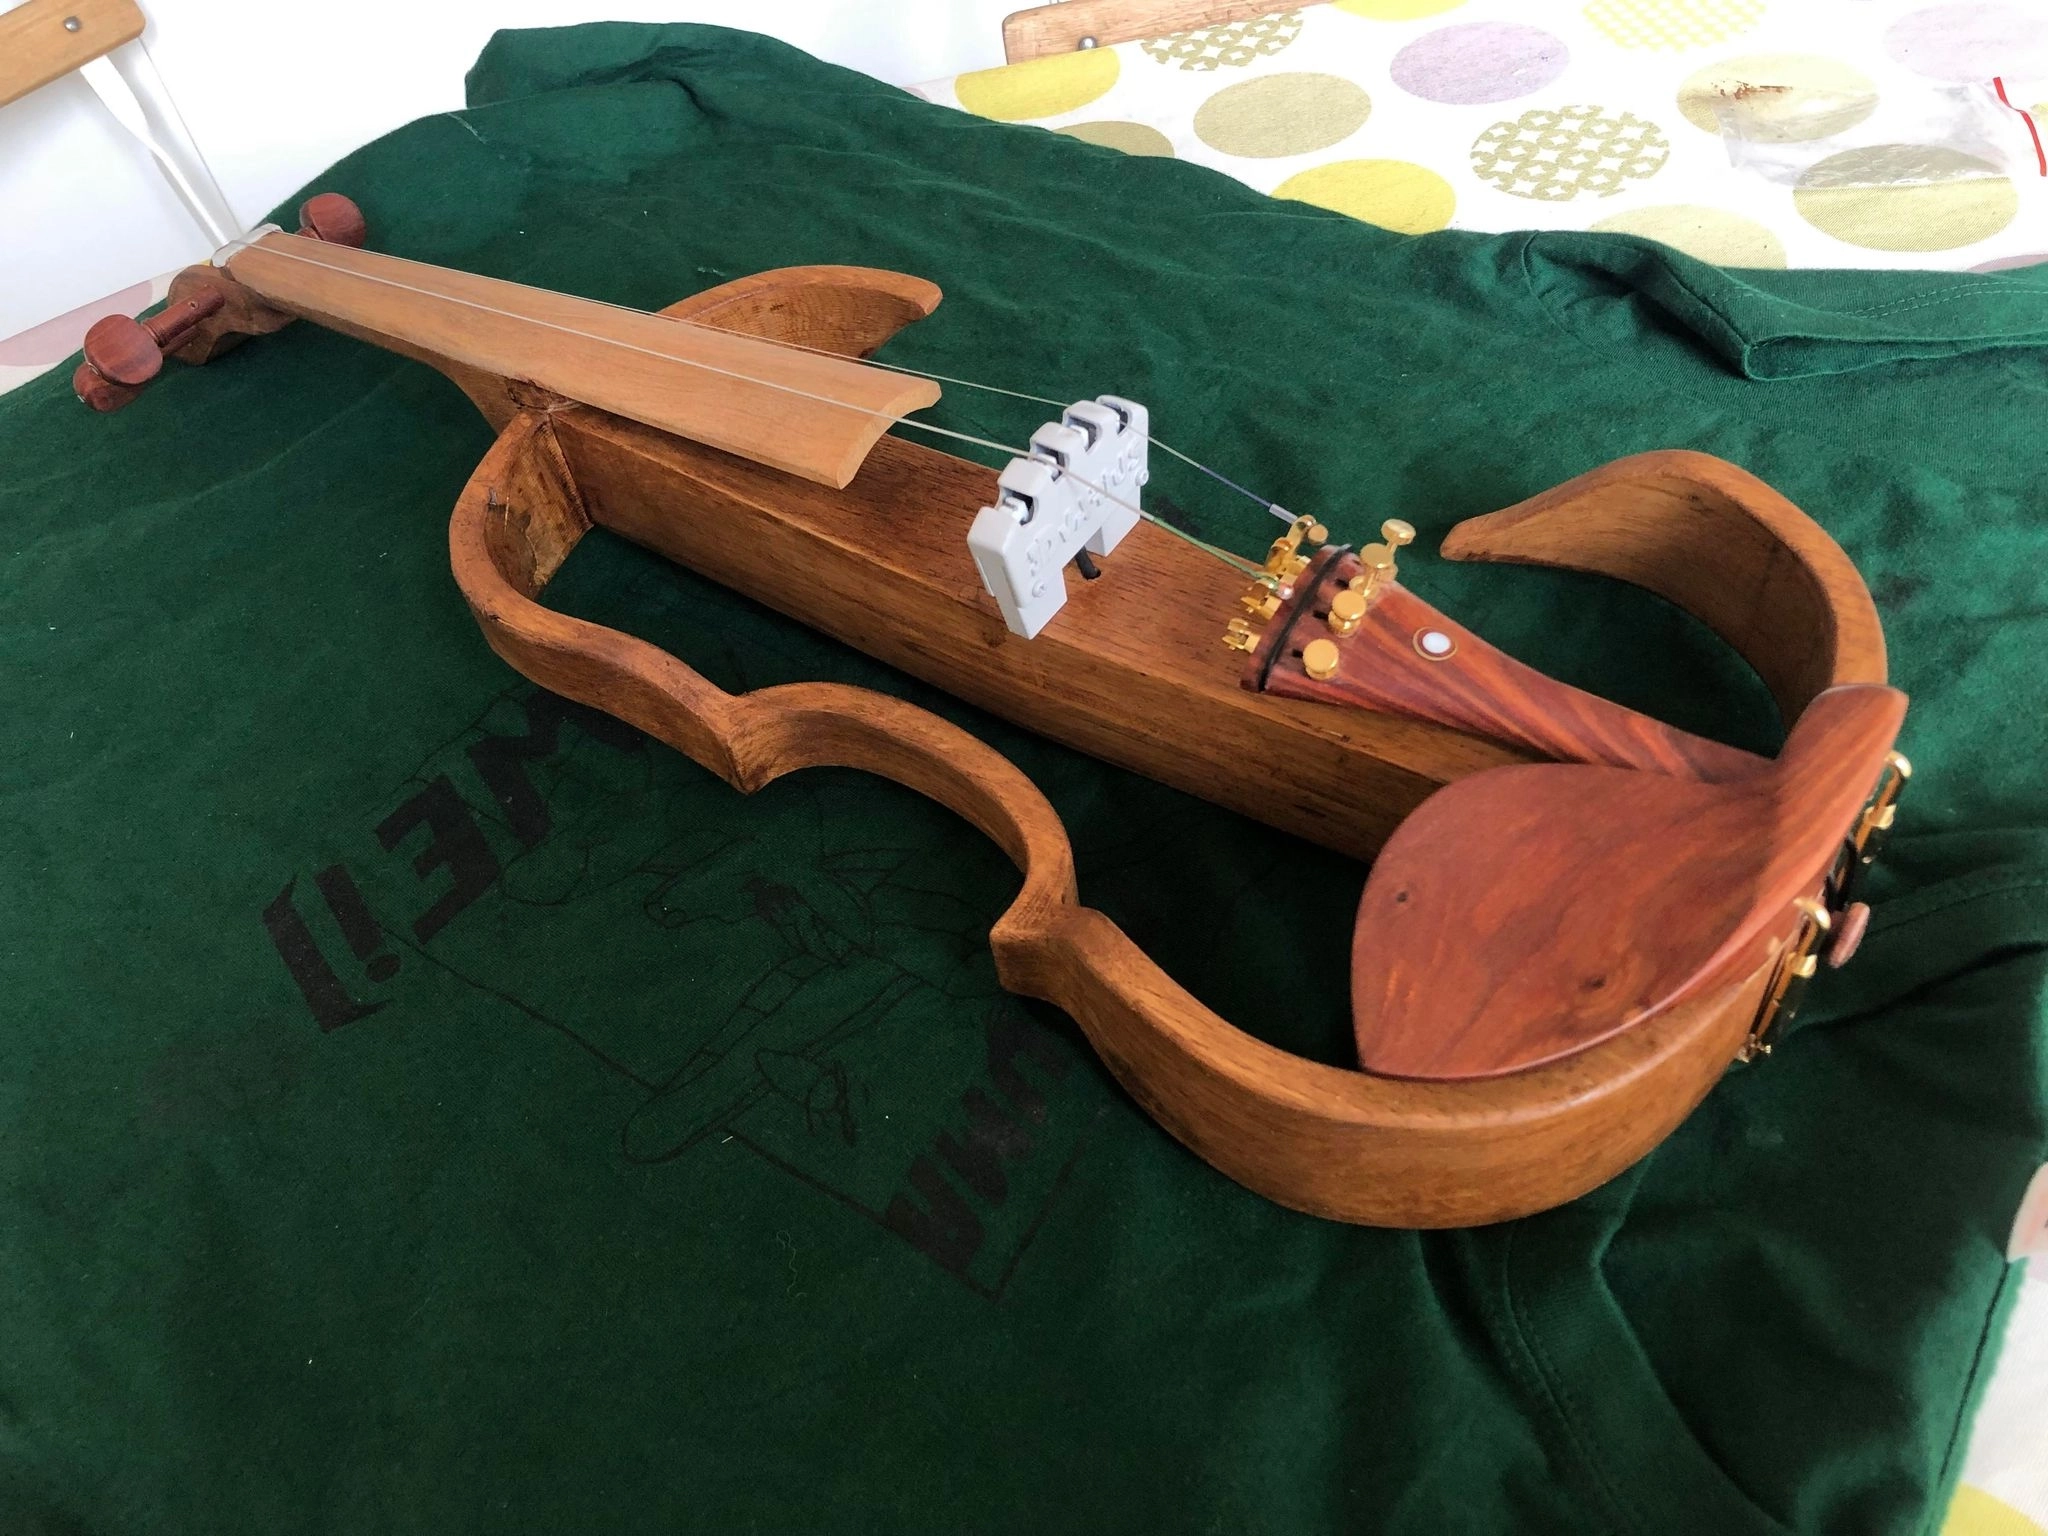
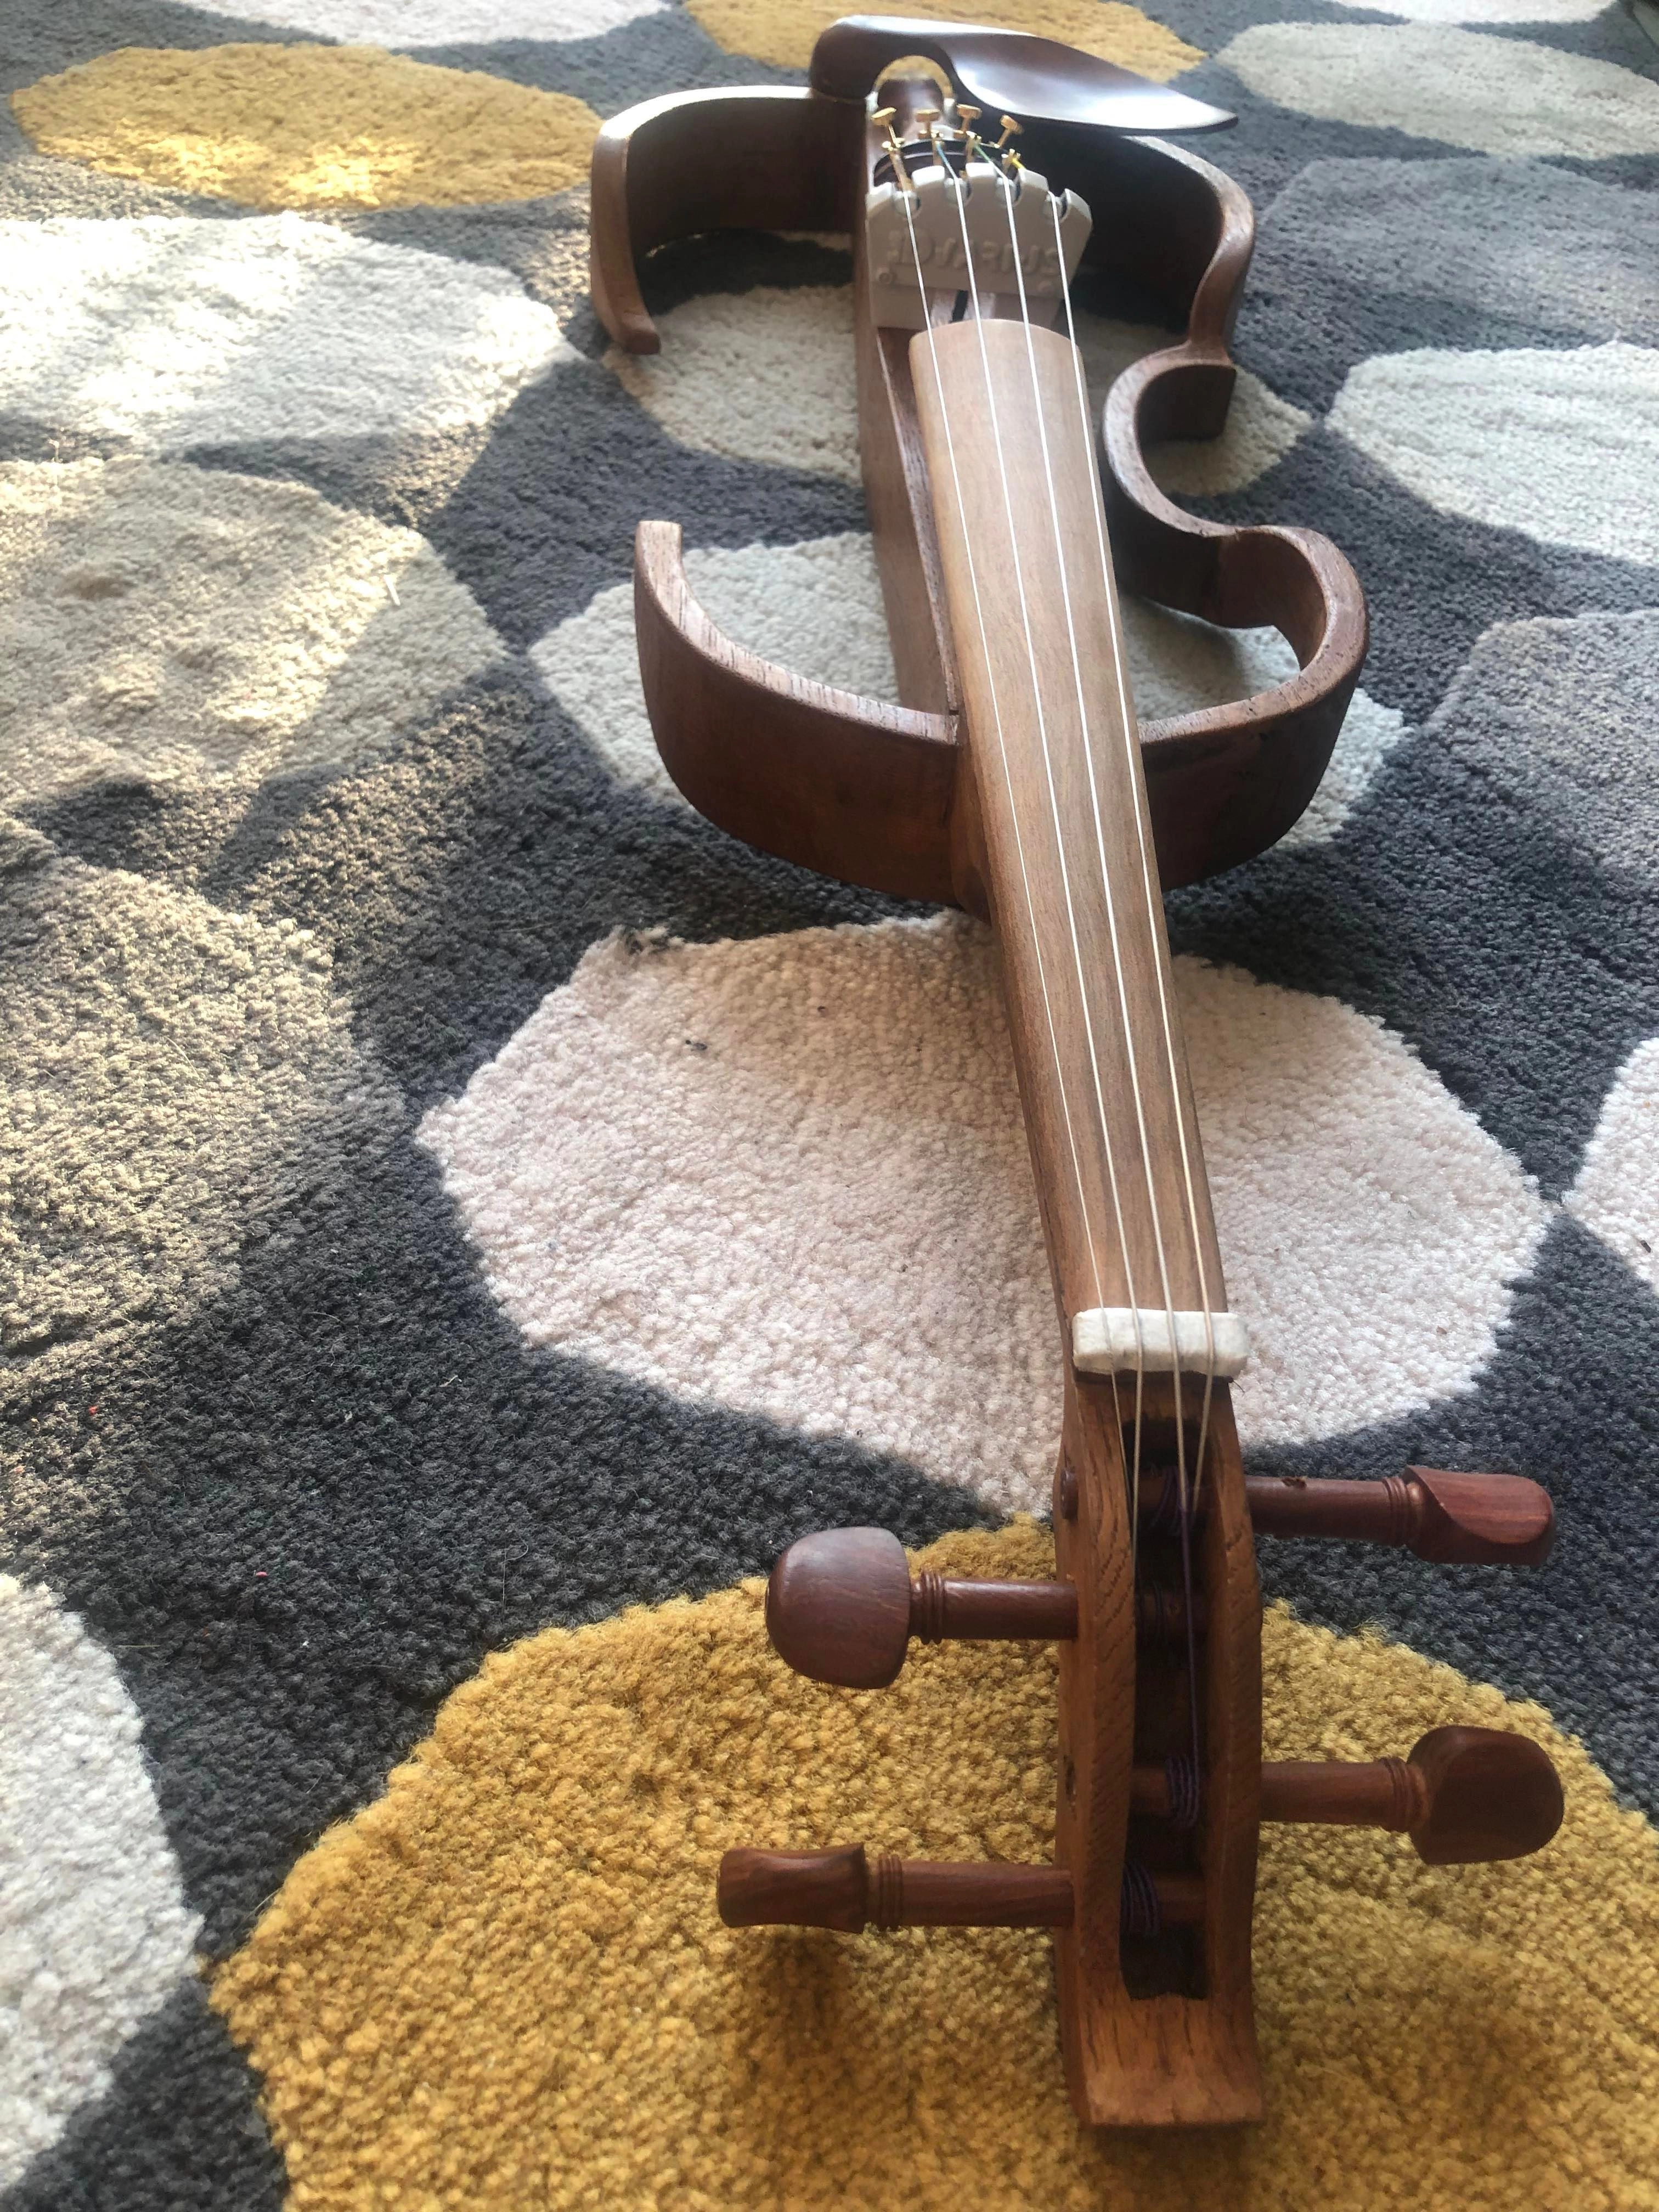
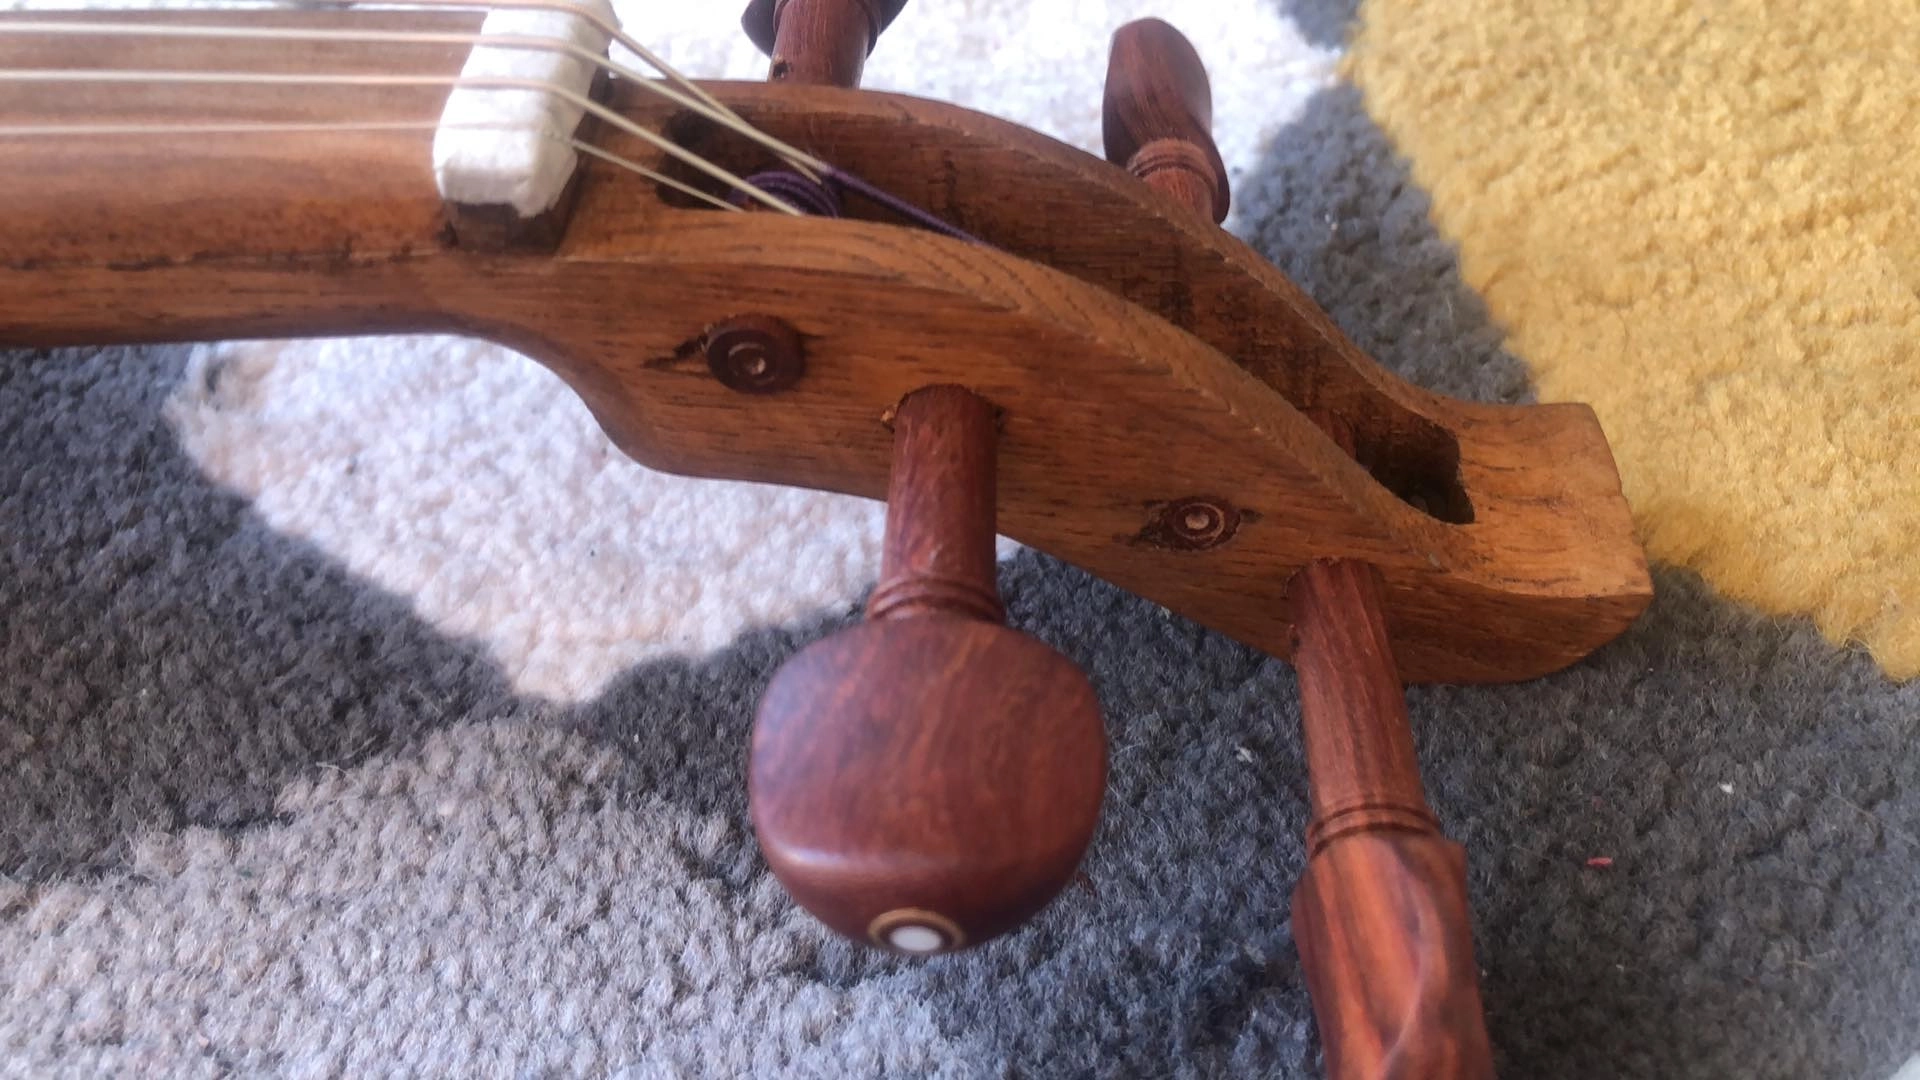
After that, we were able to assemble the additional elements (purchased online): chinstrap, turnbuckle and pegs.
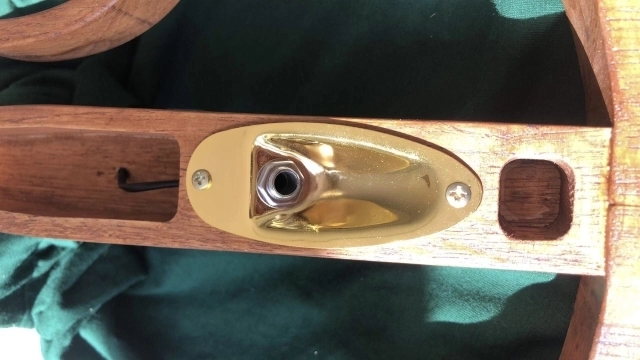
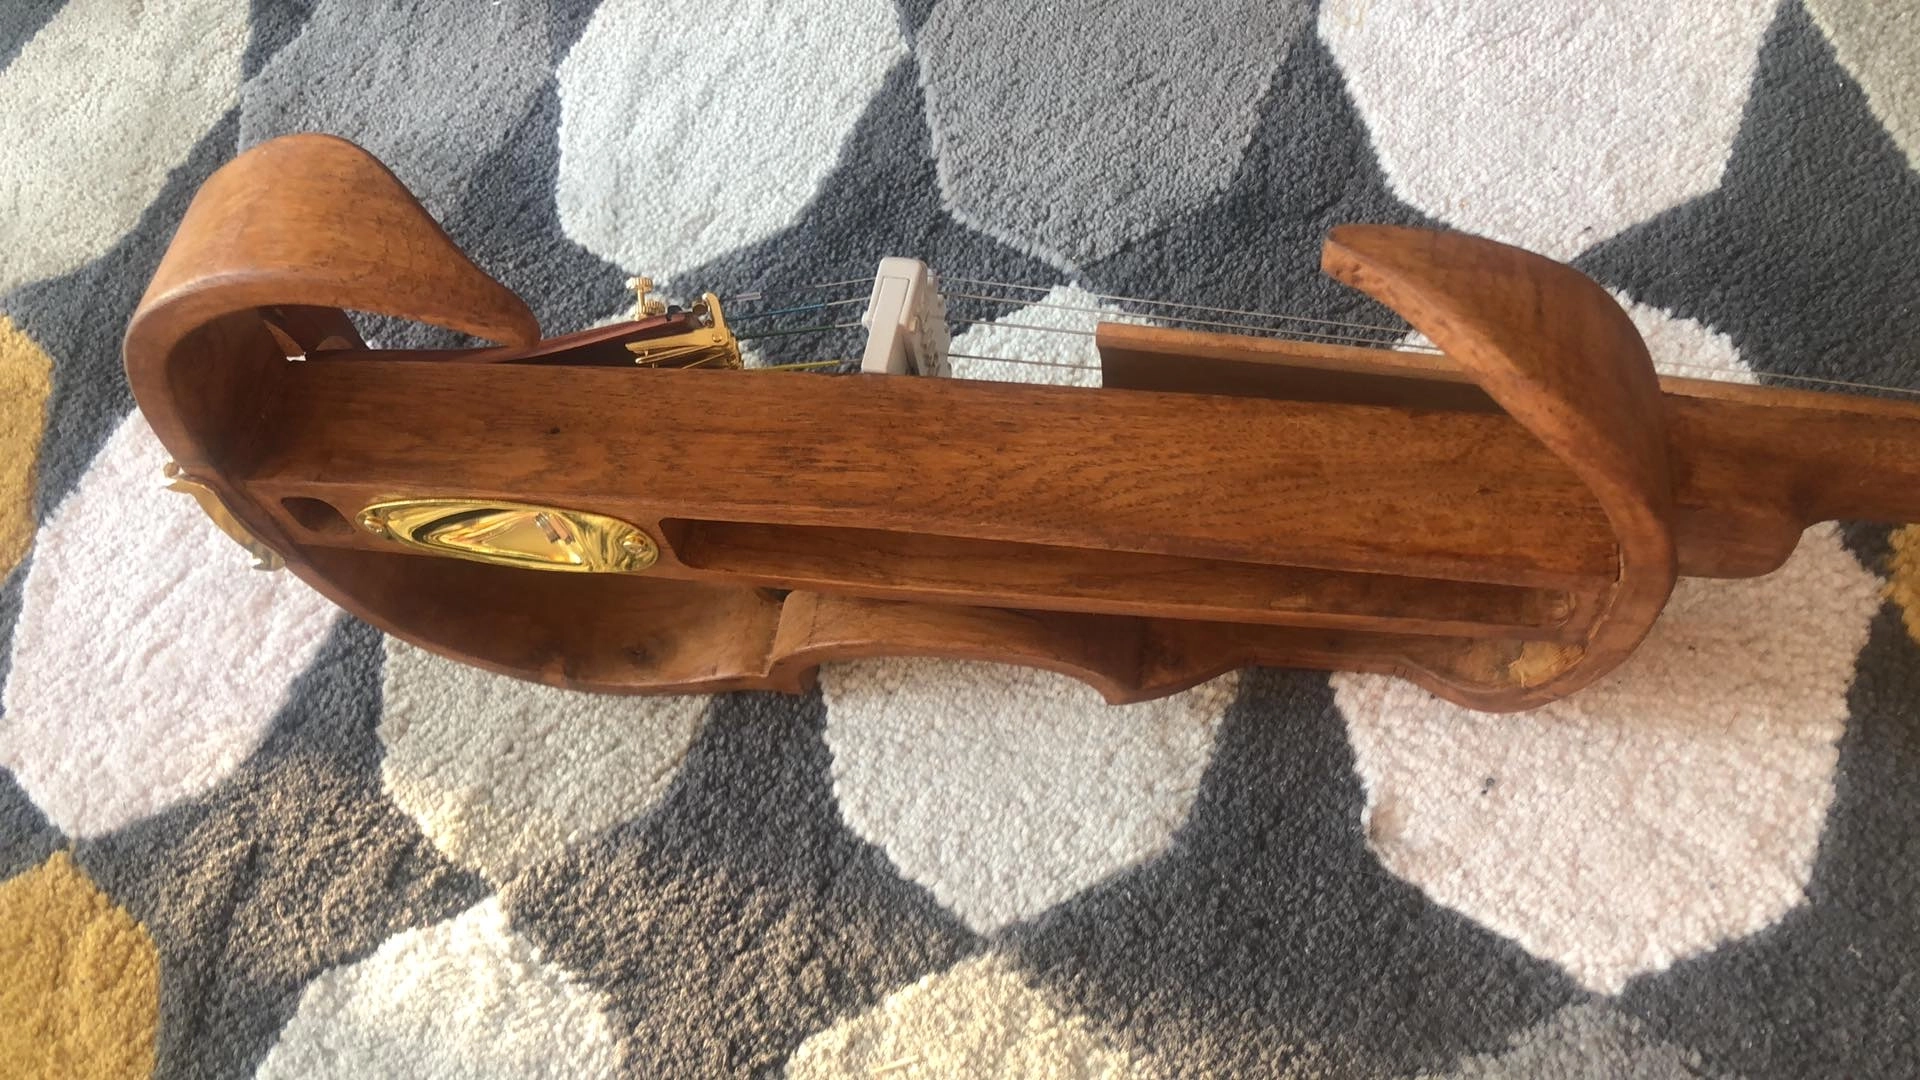
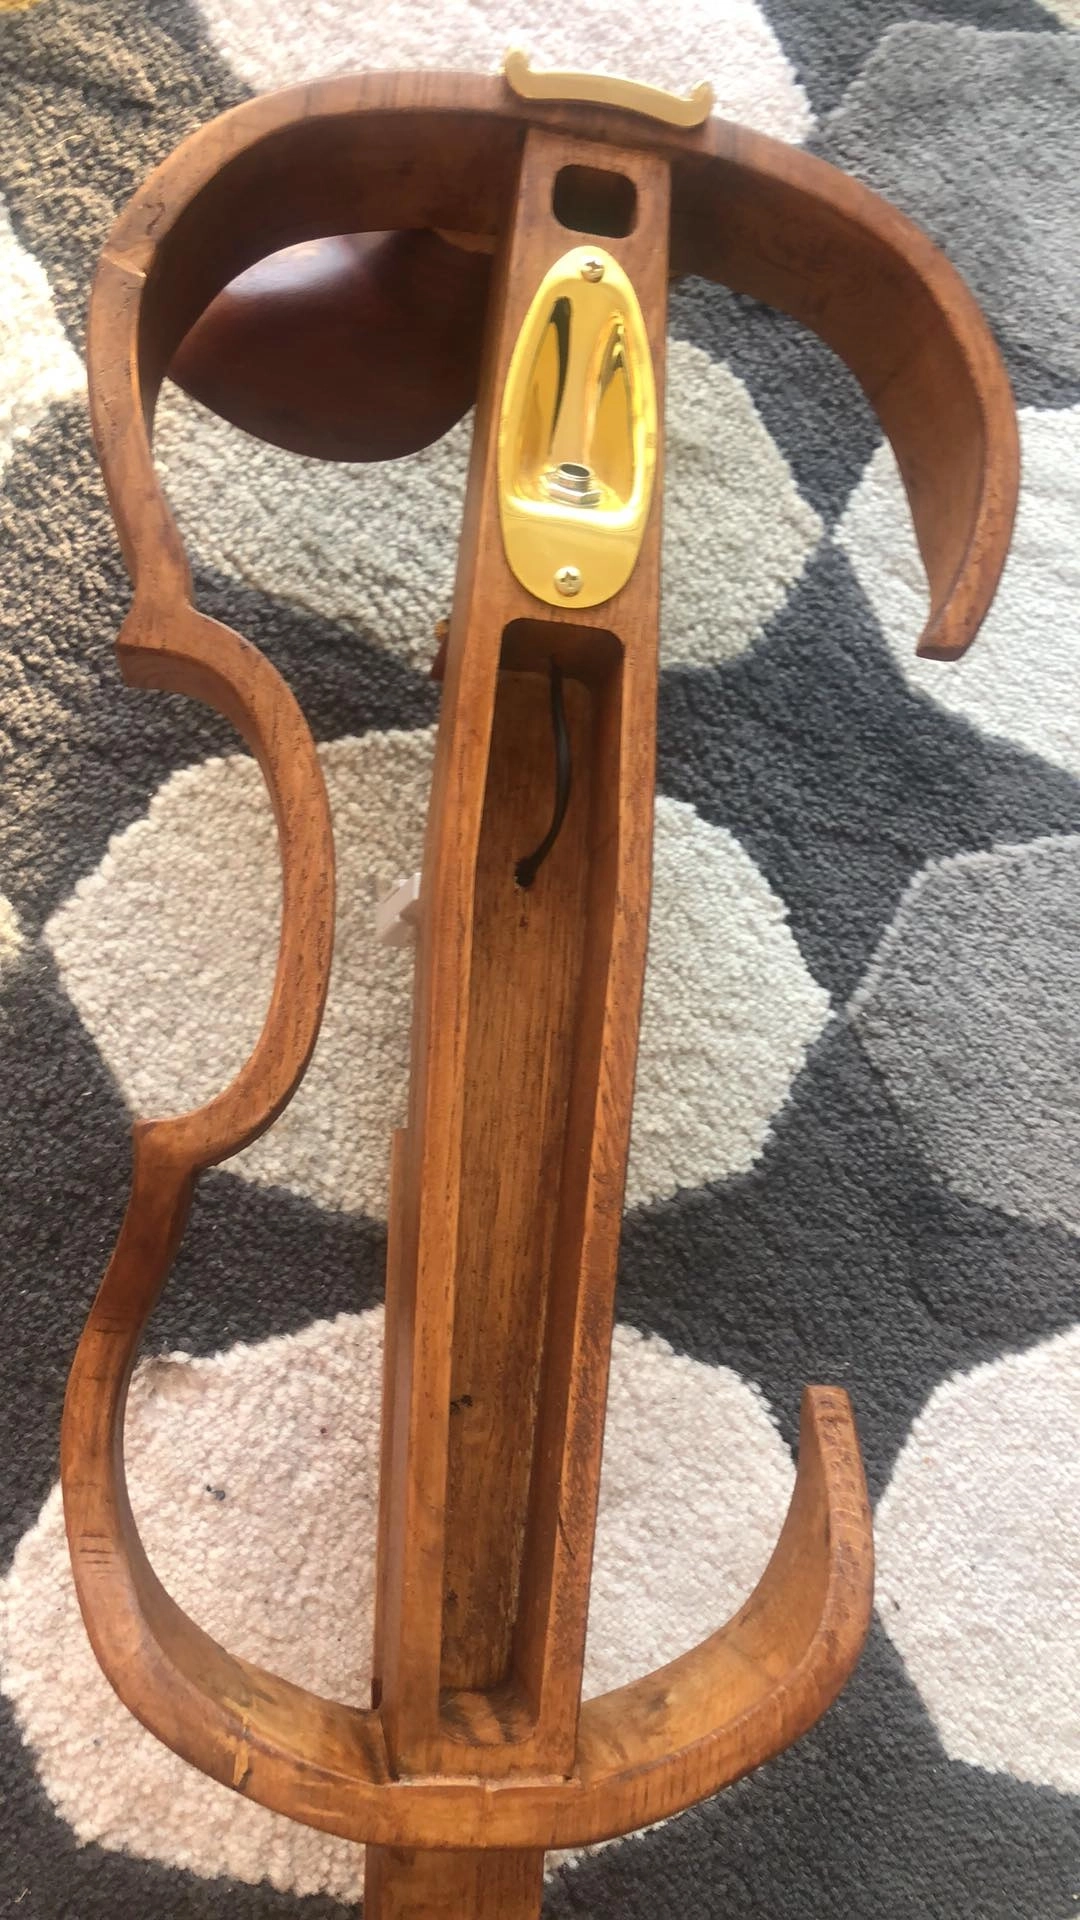
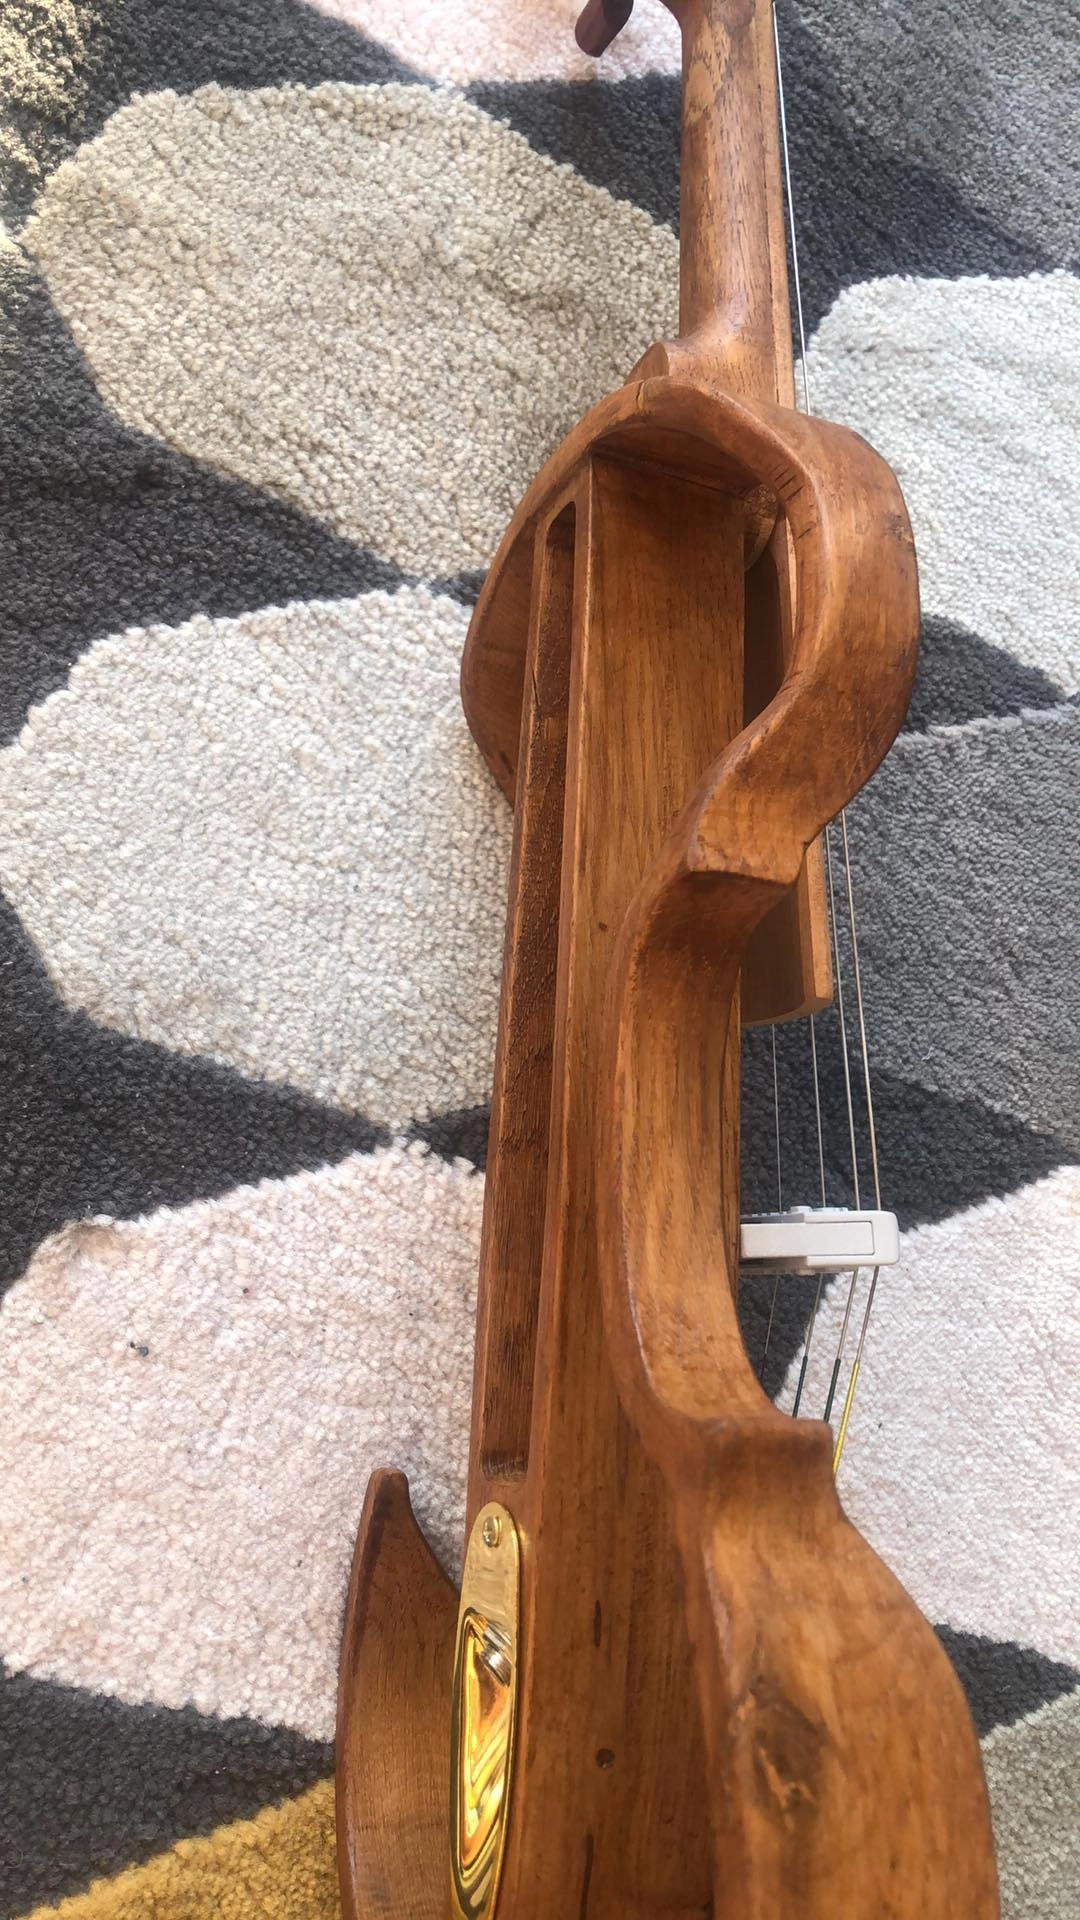
We started by drilling and gluing the button. Then we installed the bridge, soldering the wire outlets to the jack plugs. The plate of the jack was screwed on the back of the body in the place provided for this purpose. Then we were able to place the chin strap and the turnbuckle. For the installation of the ropes, it was necessary to make small additional holes (1mm) on the pegs to be able to secure the rotation of the peg and the winding of the rope.
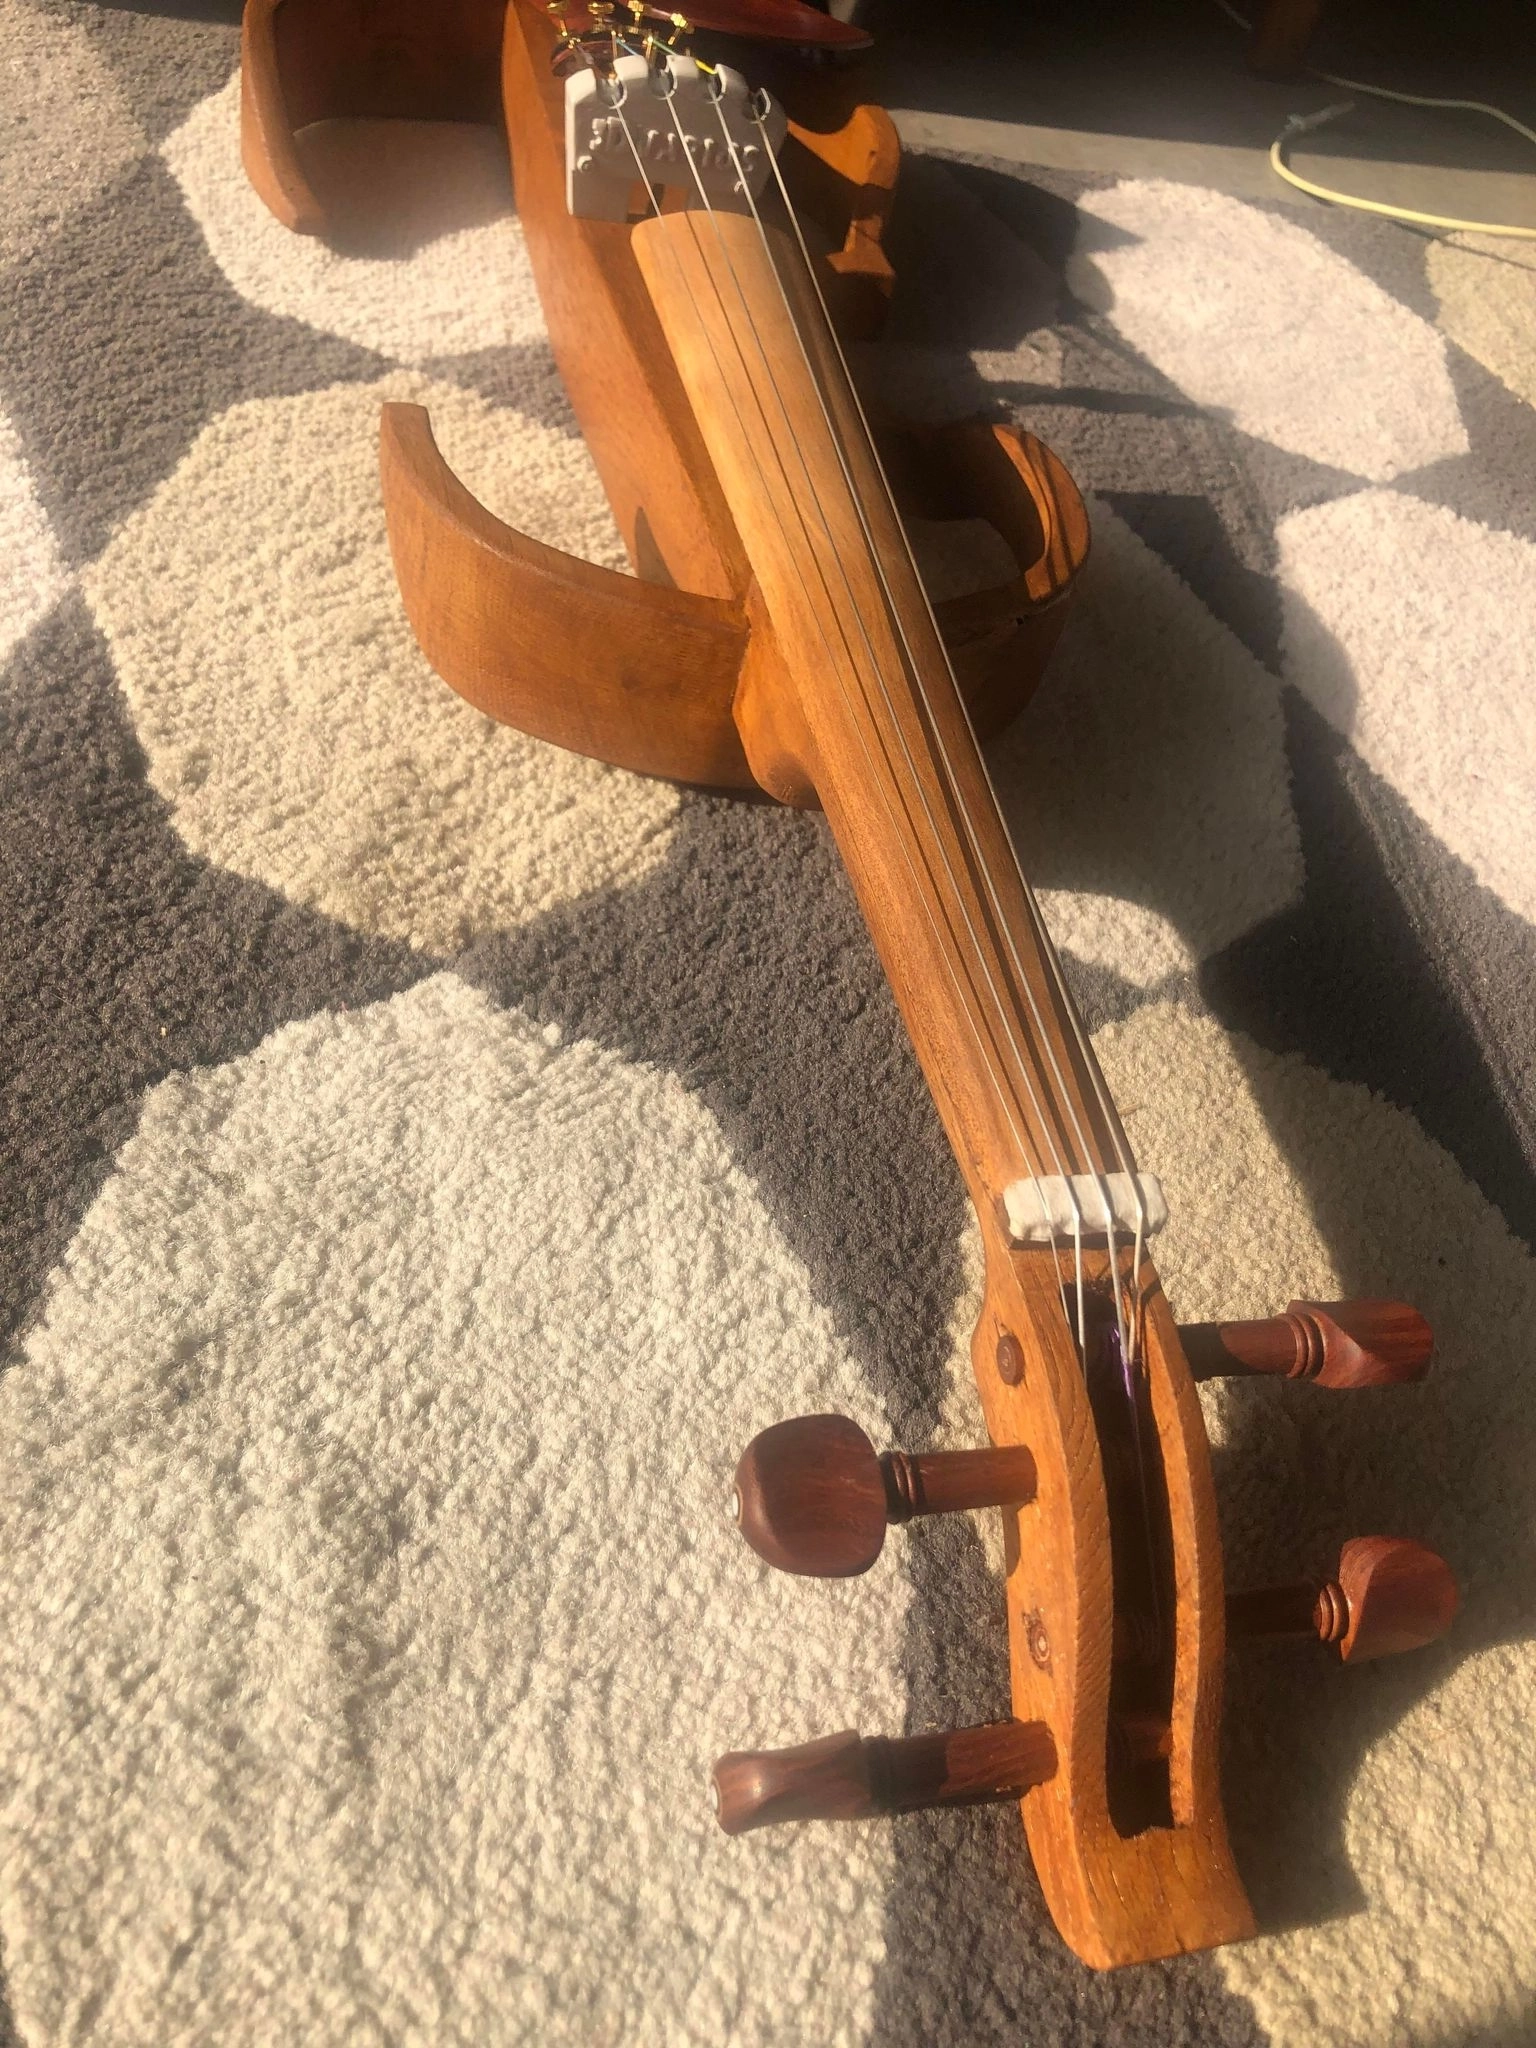
Concerning the bridge, we chose to buy the X pickup from 3D-Varius. All the sound quality of the instrument is played on this part, so we wanted to find a bridge that would ensure a good sound capture. The 3D-Varius pickup has a piezoelectric sensor under each string.
Conclusion
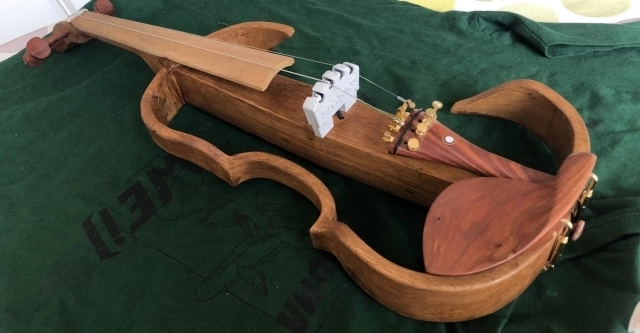
The violin is now ready, it is the result of a beautiful project. In the end, a budget of less than 300 euros, a hundred hours of work and a great electric violin that sounds great.

It is difficult to think of everything when designing such a complex object, so we still have some regrets. We have gathered them in this conclusion.
- The most annoying flaw: the oiling, which we like very much on the rest of the violin body, makes the neck quite unpleasant to use because it is too sticky. We are thinking of ideas to reduce this defect (turpentine, light sanding).
- Concerning the geometry of the neck, we realized after using the violin that the area where the thumb is placed in high positions (base of the neck) should have the whole thickness of the body, the hand is used to it in the dismantling, it requires to readapt to each passage acoustic/electric violin.

- When positioning the Jack plate, we only took into account the length of the Jack plug and not the rigid part of the cable. Once the violin is connected to the amp, it is not possible to put a classical pad. Many violinists simply place a cloth or a small cushion, so this defect is not too annoying, but it would have been enough to place the pad in the other direction to get rid of the problem!
- Finally, our violin is slightly heavier than an acoustic violin (about 600g against 460). Now that we trust the milling machine, it seems that we could have refined the walls of the central wooden part of the body.
For these different reasons, we are starting a V2 of the violin. To follow the CAD V2, it is here.


